How often do you reheat leftovers or eat cold food? If you don’t want to waste time and energy, then you should try these five simple ways to reheat ribs without ruining their flavor.
Ribs are delicious, but they can also dry out easily. This happens because they contain a high amount of protein, which causes them to shrink when cooked. The solution? Reheat them slowly.
Ribs are great for entertaining guests, but they can be tough to cook at home. There are several methods to reheat ribs, but some require special equipment.
Stick around to the end of this article to find out the best 5 methods for getting your leftover ribs back to their delicious best!
Method 1: Microwave
Now, we know what you’re thinking. Microwaves are notoriously one of the worst ways of reheating any kind of food. They always leave food dry, tough, and devoid of all flavor, right?
Well, that’s not always necessarily the case and microwaving leftovers is definitely one of the most convenient methods out there, so it’s worth giving it a shot.
If you have an oven-safe dish that fits in your microwave, then you can use it to reheat ribs. Make sure you cover the container in some plastic wrap to make sure all the juices and sauces don’t fly all over the walls of your microwave.
Now, here’s the trick to keeping your ribs moist and full of texture and flavor while you reheat them!
Soak a couple of paper towels in water and wring them out in the sink so that they’re still a little damp. Lay one on top of your container (on top of the plastic wrap) and one underneath the container.
The water in these paper towels will turn into steam which will help to keep the ribs nice and moist.
You should set the microwave to medium power and leave your ribs in there for 2-3 minutes, checking on them after a minute and a half to see that they’re heating properly and to recoat them in any sauce you might have in the dish.
Of course, it’s vitally important that you don’t use a metal dish or any kind of aluminum foil when doing this. Any kind of metal in your microwave will have some pretty disastrous consequences.
Method 2: Slow Cooker
If you’re not a fan of the microwave method, and you have a slow cooker in your kitchen, this one might be perfect for you!
Of course, as the name suggests, the slow cooker method will take a whole lot longer than the microwave method or anything else on our list. However, it can yield some seriously impressive results if you have the time and the patience for it.
Start by laying your ribs in your slow cooker, along with any sauce that you might have with it. Then, the key is to add a couple of teaspoons of water to the pot also. Again, the desired effect here is to give the ribs some moisture to feed off of, so they don’t dry out completely.
Then, set your slow cooker to the lowest possible setting available. Most slow cookers have a setting that is simply labeled ‘low’, but others will have one that says ‘warm’. In this case, you should set it to ‘warm’.
Now, simply leave the ribs to reheat slowly in the cooker for one hour to as much as 4 hours, depending on how many ribs you have in the pot. Make sure you check on the ribs every 45 minutes or so, just to make sure they’re doing ok and to give them a stir.
Don’t take the lid off for too long though, as you don’t want to let the heat escape from the pot.
Method 3: Stovetop
If you don’t have enough time to leave your slow cooker on for hours but can still afford yourself the luxury of not having to go for the microwave, the stovetop method might just be the one for you.
The only equipment you’ll need to pull this off is a medium-depth frying pan or saucepan.
Start by adding the ribs (with their sauce) to your pan, along with a couple of teaspoons of water. Again, this water will help to prevent the ribs from drying out and will allow them to retain the flavor of their sauce brilliantly.
Put the pan over medium heat on your stovetop and wait for it to come up to temperature.
Once you can see steam coming off of the ribs and the water starts bubbling, the water is at a sufficient temperature. If the water starts fully boiling, lower the heat to reduce it to a simmer.
Simply poke and shuffle around your ribs to make sure they’re all evenly coated with water and to stop them from sticking to the pan. After around 10 minutes, they should be fully reheated and ready to eat!
Method 4: Oven
Probably one of the most effective methods on our list is the oven reheating method. This creates an evenly heated environment for the ribs to reheat consistently and avoid leaving particular cold or hot spots.
As with most oven-based recipes, you’ll want to start by preheating. Set the oven to 250 degrees Fahrenheit for at least 5 minutes before putting anything inside.
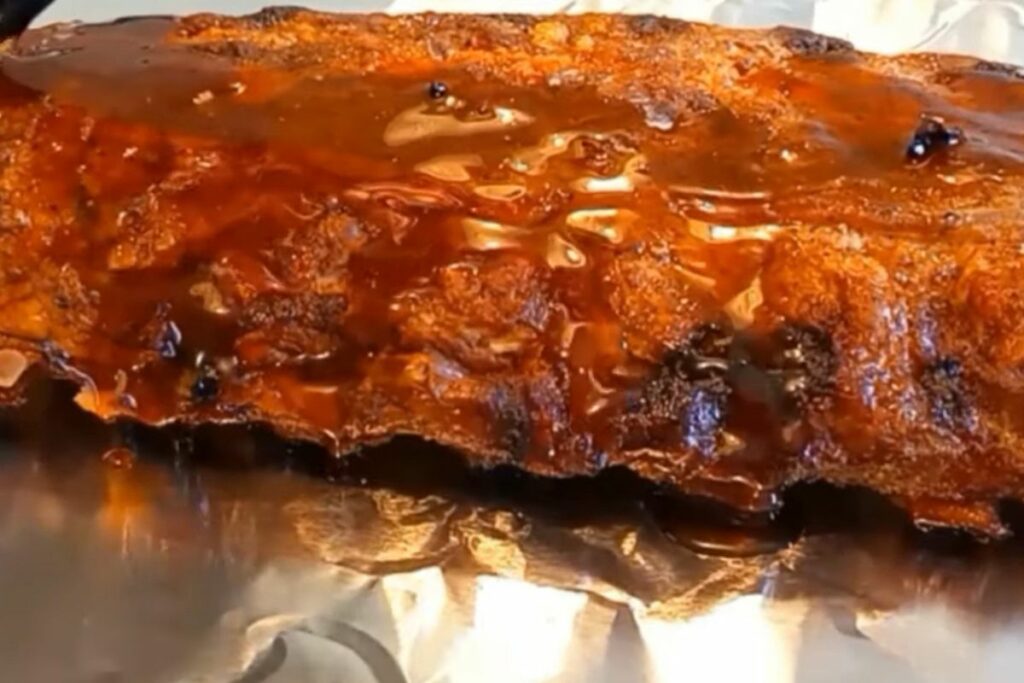
Line a baking tray or dish with aluminum foil, making sure there’s enough of it to completely cover the ribs when you fold it over. Then, add the ribs to the tray/dish along with a quarter cup of water.
This will help to prevent the ribs from drying out as they reheat. You could even add some beef broth or stock at this point to enhance the flavor further. However, if you have a sauce or marinade for the ribs, this will do just fine.
Now, simply wrap the foil over the ribs and place them in the oven for around 30 minutes. Check on them after 15 minutes to make sure everything’s going alright but don’t unwrap the foil for too long and allow the heat to escape.
Method 5: Sous-Vide
This last method is perhaps the most effective for reheating any kind of meat without drying it out or losing too much flavor.
The only problem is that it requires a little bit of practice and some extra equipment to get it just right. However, if you already have a special sous-vide machine in your kitchen, this won’t be an issue.
To start off, set your sous-vide machine to 165 degrees Fahrenheit or place a pot of water on your stove until it reaches this temperature.
While the water is heating up, place your ribs and any sauce they came with into a vacuum-sealable plastic bag. It’s important that you can seal the bag tightly so that there’s no air inside as it heats.
Then, simply submerge the bag(s) of ribs and their sauce into the hot water and leave it alone until it’s fully reheated.
A good rule of thumb for how long this will take is to allow 45 minutes per every inch of thickness on your ribs. If you’re reheating the ribs from frozen allow a little extra time – probably around 30 minutes.
Top Tips For Reheating Ribs
If you’ve ever tried to reheat ribs, then you know that they’re not exactly easy to work with. They tend to dry out quickly and are very difficult to cook properly. That being said, here are some tips to help you get the best results possible.
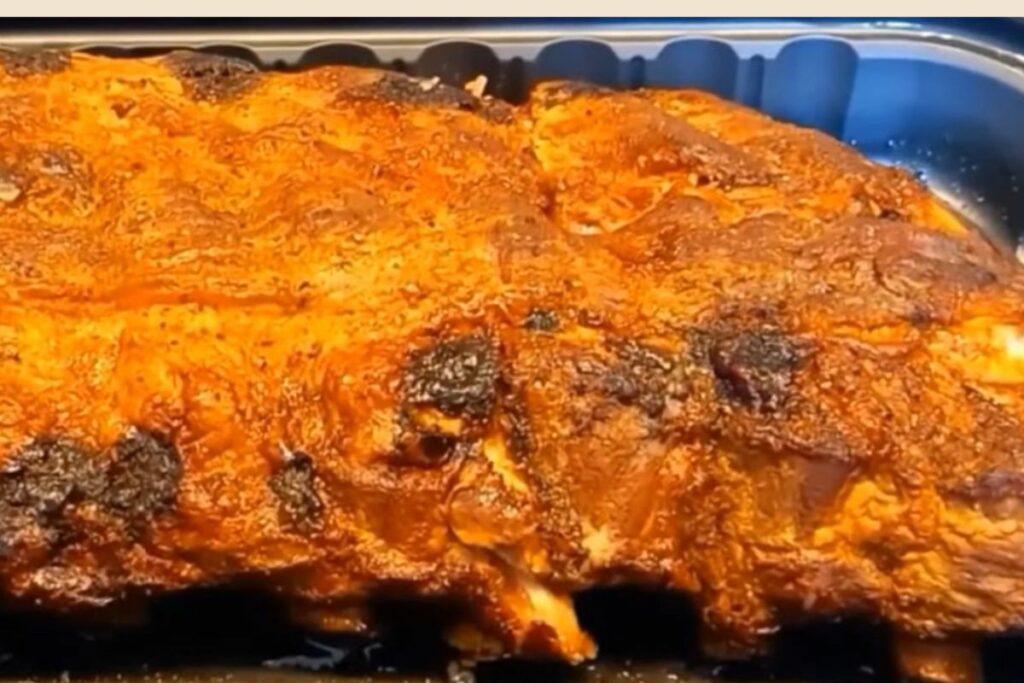
First things first, make sure you buy high-quality ribs. There’s nothing worse than having to throw away perfectly edible food because it was poorly stored or prepared. So, always make sure to store your ribs well and keep them separate from other foods.
Next, try to find a recipe that uses sauce. When you use sauce with your ribs, it tends to keep the meat moister when reheating them. Even if you didn’t originally cook them with sauce, it can still be beneficial to add sauce as they reheat.
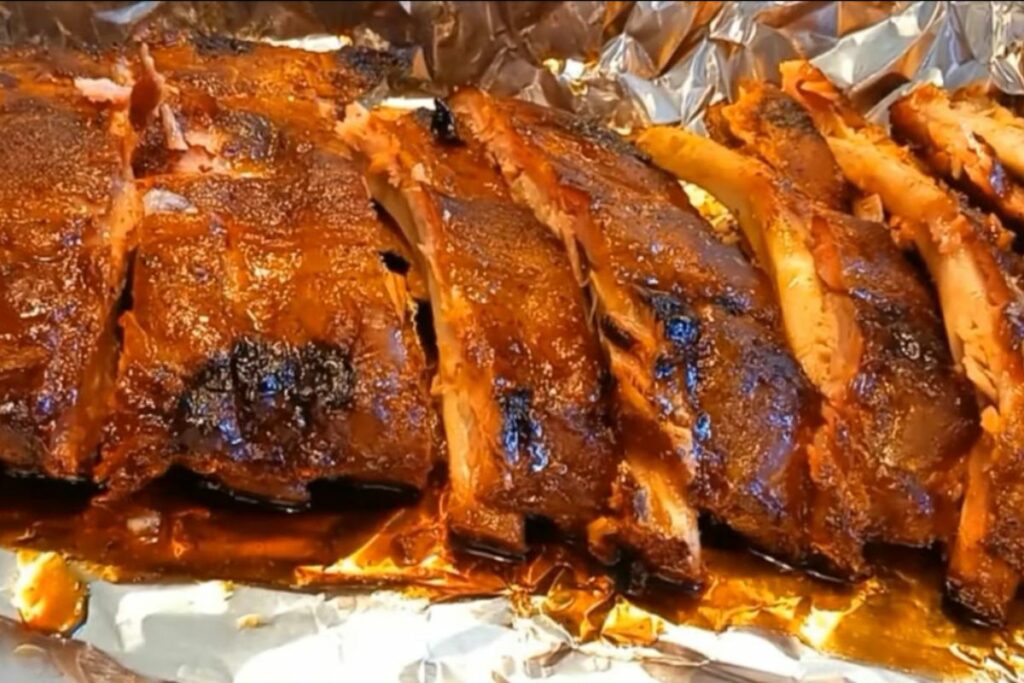
In fact, while reheating ribs, you should always add some kind of moisture to prevent them from drying out. The common issue with reheating meat is that it gets dry and tough as the little moisture that was left inside it evaporates.
By adding some kind of liquid like sauce, broth, or even just water, you should navigate around this issue.
Finally, remember that the key to great ribs is slow cooking. Make sure you cook them slowly and evenly throughout the entire process. Don’t rush through the cooking stage and end up overcooking or undercooking certain areas.
Hopefully, these five methods will help you reheat ribs in a way that keeps them moist and flavorful.
What Temperature Is Safe For Reheated Ribs?
The safest temperature for reheating ribs is between 140 °F and 160 °F. This is the ideal range for keeping the meat tender and juicy. Above this temperature, the meat starts to toughen and become dry, below this temperature, the meat becomes mushy and falls apart.
However, since the goal of reheating ribs is to keep them moist, you may want to go above this safe temperature range. In fact, it’s often recommended that you heat your ribs at 180 °F or higher. This is especially true if you plan to eat them right after reheating.
However, if you’re planning on freezing your ribs before reheating them, you’ll want to stick closer to the lower temperature range. You don’t want them to freeze solid while they’re sitting in the fridge.
How Long Should I Cook My Ribs Before Reheating?
When reheating ribs, the most important thing to consider is the amount of time you need to cook them. Just like any other type of meat, there’s a point where the meat begins to lose its juices and flavor.
So, when reheating ribs, you need to pay attention to how much time has passed since you cooked them. Ideally, you’ll want to cook them until they reach an internal temperature of 165 °F. However, if you have a longer window of time available, you can also cook them for less time.
For example, if you’re going to reheat ribs for two hours, you could cook them for about 1 hour instead. But, if you only have 30 minutes, then you’d better hurry!
If you do choose to cook them for less time, you’ll want to monitor their progress closely, so you know when they’re done.
Once you’ve reached the desired internal temperature, remove the pan from the oven and allow the ribs to rest for 10 minutes. Then, serve them immediately.
If you’re worried about them getting too hot during the resting period, you can cover them with foil. Otherwise, you can leave them uncovered.
How Do I Store Reheated Ribs After They Come Out Of The Oven?
After reheating ribs, you’ll probably want to store them in the refrigerator. If you plan to use them within 24 hours, you can refrigerate them straight away. If not, wrap them tightly in plastic wrap first and place them into the freezer.
What Can I Use Instead Of Water For Reheating Ribs?
While water is great for reheating ribs, it doesn’t work very well for adding flavor. It’s best to use something else such as stock, wine, beer, juice, or even ketchup. These liquids contain enough flavor to season the meat properly.
You can also add some spices to give the ribs extra flavor. Some common options include garlic powder, onion powder, paprika, cayenne pepper, chili powder, black pepper, salt, and sugar.
What To Serve With Ribs
Ribs are delicious when served alongside just about anything. From mashed potatoes to coleslaw, these versatile cuts make a great addition to almost every meal.
Of course, you can always pair them with barbecue sauce. But, if you prefer something different, here are a few ideas:
Salsa – A spicy salsa goes perfectly with grilled chicken. And, when paired with fresh corn tortillas, it makes for a quick and easy taco salad.
Pesto Sauce – Paired with pasta, pesto is one of my favorite sauces. Plus, it adds a nice kick to this meat.
Barbecue Sauce – This classic condiment pairs beautifully with pork ribs. And, if you’re looking for more ways to enjoy it, check out our post on How To Make Homemade BBQ Sauce.
Creamy Coleslaw – This tangy slaw is perfect for serving with barbecued meats. You can find it at your local grocery store or online.
Mashed Potatoes – Mashed potatoes go especially well with pork ribs. In fact, they’re often used as a side dish for these tasty cuts.
Grilled Corn On The Cob – Grilling corn gives it a smoky flavor that compliments any type of meat. And, when paired together, they make for a simple yet satisfying summertime treat.
In Summary
When cooking ribs, there are many things to consider. One of the most important factors is the amount of time you spend cooking them.
Another factor is how much time you need to let them cool down before storing them. As long as you pay attention to both of those points, you should be able to achieve success.


")

