If you’re familiar with smoking ribs, you’re probably aware of the 3-2-1 method. While some barbecuers question its effectiveness (and argue that it can make for overcooked ribs), it’s still a method used by many, and a good way for beginners to get used to the process of smoking meats.
This method, unlike the 2-2-1 method (which is designed for baby back ribs), is designed specifically for pork spareribs.
The following article will outline the 3-2-1 method, as well as anything else you might want to know about smoking ribs, including what goes in a rib rub, how to know when your ribs are done, the risk of over-salting your ribs, and alternatives to the 3-2-1 method.
What Is The 3-2-1 Method?
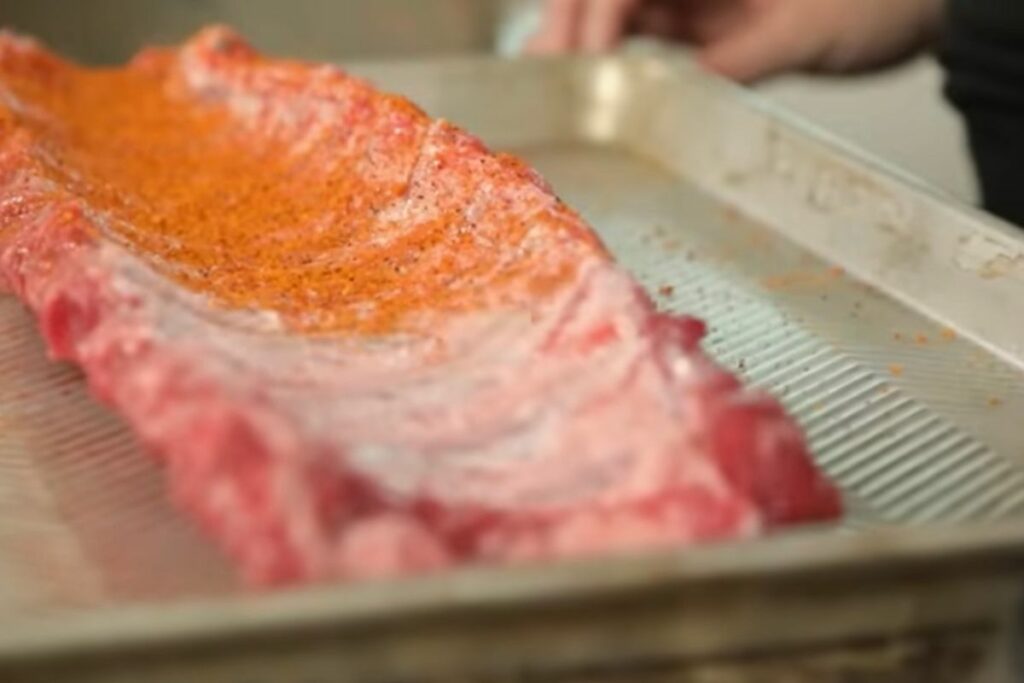
The ‘3-2-1’ refers to the timings of the smoking process. But before the cooking begins, your first step is to prepare the ribs. Peel off the underside of the membrane, before applying either barbecue sauce or rib rub (a seasoning blend) to the ribs. Then let the ribs sit, at room temperature, for at least a few hours.
This will give the meat time to soak up all the flavor before you start the cooking process. Some even choose to let the meat marinate in the rib rub overnight, which there’s no harm in trying. Just don’t let them marinate for over 12 hours.
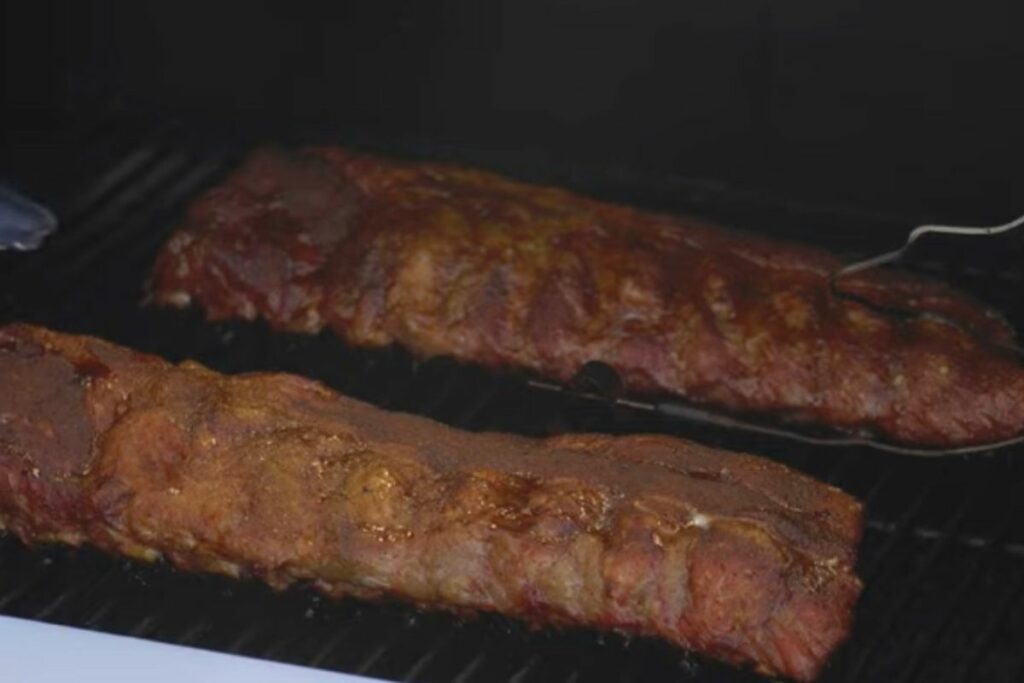
Now onto the smoking itself. Set the temperature to 225 degrees Fahrenheit, place the ribs bone side down, and let them smoke for three uninterrupted hours.
You should also be adding your preferred wood chips at this stage, if you’re a fan of that wood flavor. Be sure to give the ribs the right amount of time during this step, as it’s crucial in getting the best possible flavors.
Once the three hours are up, you’ll be tenderizing the meat. This step is all about introducing moisture to the ribs, to prevent them from drying out throughout the cooking process. This is done by gradually raising the internal temperature of the ribs until it reaches 145 degrees Fahrenheit.
Wrap the ribs in aluminum foil in order to allow the meat to steam, which will in turn break down the connective tissues of the meat, therefore tenderizing it.
You should also be pouring a third of a cup of apple juice (or apple cider vinegar), a fourth of a cup of brown sugar, and a few tablespoons of melted butter onto the foil before you wrap the ribs with it. Be sure to add the ingredients to the foil first, and then lie the ribs meat side down, allowing the meat to be in direct contact with the juices and flavors.
Wrapping the ribs will assist in the tenderizing process, as well as add to the flavor profile of the stack; especially the brown sugar, which should provide the ribs with a sweet, caramelized flavor. You might also want to double wrap the ribs, just to further prevent any steam escaping.
Smoke the meat for two more hours, still at 225 degrees Fahrenheit and bone side down. Make sure the meat isn’t cooking for any longer than two hours at this stage, because if you go over by even a little, it might result in the meat becoming mushy, which is never ideal.
Your final step starts with removing the foil, allowing the steam to escape. It’s best to do this with oven mitts so as to avoid getting burned by the steam, which is otherwise quite easily done.
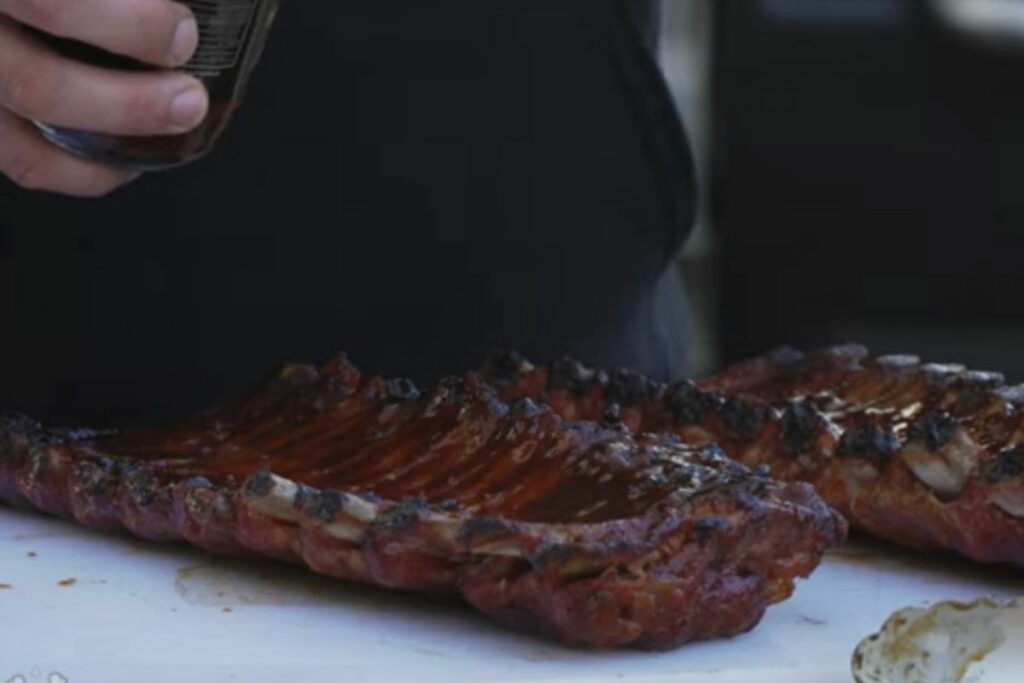
You should be able to see that the meat is starting to fall off the bones, now that they’re getting increasingly tender. Make sure you’re handling the ribs carefully at this stage- you wouldn’t want the meat to actually fall off!
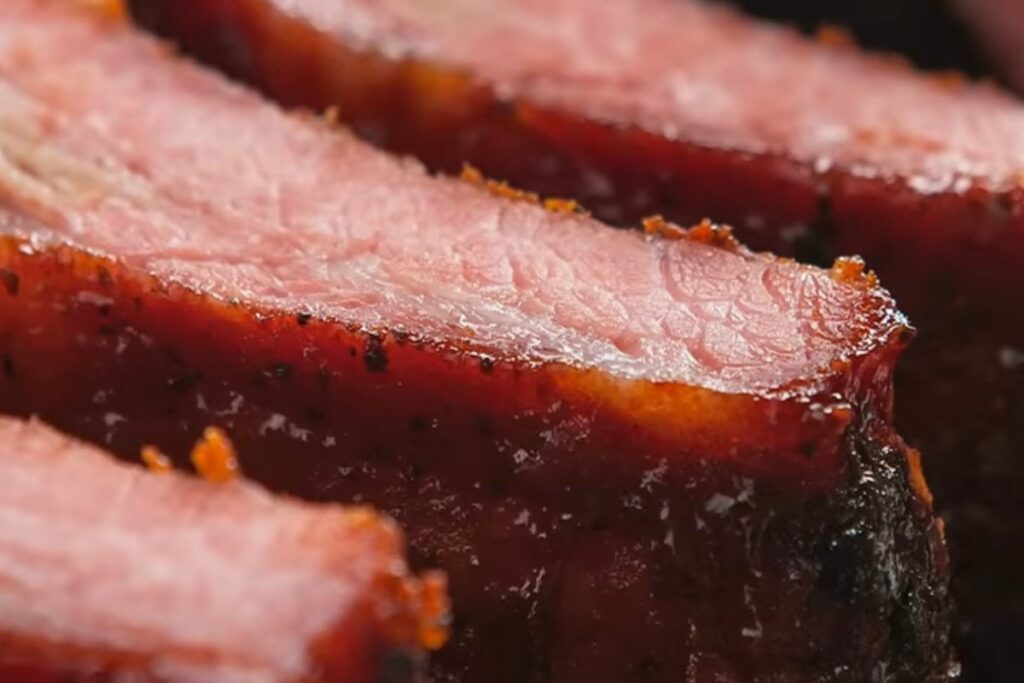
With a sauce brush, once again apply barbecue sauce to the ribs. Don’t be afraid to apply too much- the more the tastier. Smoke the ribs for one more hour and the process is complete. Depending on how you like your ribs, it’s possible you won’t need to be as strict with this step; you might be done within as little as 15 to 30 minutes.
What Do Overcooked Ribs Look Like?
The telltale signs that you’ve cooked your ribs for too long are the ribs appearing either mushy, or burnt. They’ll become mushy if they’ve been cooking for too long while wrapped in foil, but if they’re not wrapped in foil and they’re exposed to direct heat for longer than is recommended, this will result in dry (or even burnt) meat.
The latter is why you shouldn’t cut your meat open (which is often called the peek-a-boo test) to check that it’s cooked unless you’re already fairly confident that the cooking process is nearly complete. If you’ve exposed one section of the meat but the ribs still need longer, then that part will be dried out compared to the rest of the ribs.
Rib Rub
There’s a variety of options out there when it comes to seasoning your ribs. One of the most popular and most simple combinations is one and a half teaspoons of paprika, one and a half teaspoons of salt, three tablespoons of brown sugar, one and a half teaspoons of ground black pepper, and one teaspoon of garlic powder.
Preparing rib rub involves simply mixing all these ingredients together before rubbing the final product onto your ribs.
While the 3-2-1 method allows for plenty of experimentation, it’s best to apply the rib rub only when this guide instructs. You can wait til the first step or even the third step to add the rib rub, but you could end up drying the ribs out (or doing the opposite) in the process.
How Do You Know When Your Ribs Are Done?
It’s quite easy to know whether your ribs are fully cooked. There are a number of methods to do so, but the most popular (and most effective) is the bounce, or bend, test.
The bounce test involves carefully picking up your ribs with tongs and very gently bouncing them. If the meat looks like it’s falling off the bone, that’s a good indication that the ribs are done.
Using a meat thermometer is generally best avoided when it comes to ribs. The meat is rarely thick enough that you’ll get a good read, so it’s best to stick to more practical methods.
Some of the other popular methods are the toothpick test (poking a toothpick into various parts of the meat; if it goes in with very little to no resistance, your ribs are ready), the twist test (twisting off a bone and seeing how easily the meat comes with it), and the simple taste test (tasting part of the meat to see if it’s tender and flavorful).
There’s nothing wrong with trying multiple methods in order to be extra safe, especially if you’re a beginner- but the bounce test is the most effective way to tell whether your ribs are done, without interfering with the meat.
Can You Over-Salt Your Ribs?
It is possible to over-salt your ribs, mainly because some ribs might actually already be salted when you acquire them. If you’re not sure whether your ribs are already salted, the answer should be on the packaging.
If you’re getting your ribs from a butcher, you can simply ask them if they’ve already salted the meat. Too much salt can dry out the ribs irreversibly, so it’s something to think about.
The 2-2-1 Method
Of course, the 3-2-1 method isn’t the only method available when it comes to smoking ribs. There’s also the 2-2-1 method. This involves smoking the ribs unwrapped for two hours, wrapping them in foil and smoking them for another two hours, and then removing the foil to cook them for one more hour.
Some barbecuers look down on this method, arguing that it cuts a few too many corners, but some look down on the 3-2-1 method, too. At the end of the day, it all comes down to personal preference.
The 2-2-1 method is most recommended for baby back ribs.
Conclusion: 3-2-1 Ribs
While it may be looked down on by some, the 3-2-1 method tends to be one of the simplest, safest ways to smoke ribs. But it’s worth bearing in mind that most experienced barbecuers don’t deem meat that’s falling off the bone to be of the best quality.
Many feel that the best ribs have meat that holds firm to the bone, at least until you pull it off. It all depends on personal preference, though.
If you’re just looking for the easiest way to smoke some ribs for the family barbecue, then there’s nothing wrong at all with the 3-2-1 method, and the results should be some very tasty ribs.


")